The Nautical World...

Showing posts with label Dory. Show all posts

Monday, January 17, 2011

The Dory, Raw and Uncut!

I have been gone for quite some time, but behold!

                                                               the glory of the dory!!!


Like the new butterfly emerging from a chrysalis, the dory has taken form...


Ok so the last few weeks I have been extremely derelict in posting my boat build. For this I apologize, but anyone who has become deeply obsessed with a project knows that any spare time one may possess is quickly used up. Since school ended I have been at the boat from 9-5, sometimes even later. Add a high-maintenance girlfriend (I will pay for that comment) and a the new Call of Duty: Black Ops online and you can quickly see that I have been stretched thin.

Let's take a look back at what she looked like:

If you look at the extreme right you can see a transom knee!

Nothing but  wooden basket "some even quietly referred to her as the emperor's new clothes..." (Inside joke about the Elissa, email me if you want to know!).

With school, beatings, and exams, I really struggled to get that much done. But I had my work cut out for me, well not really, I still had to cut it out. I added the transom so that I could begin the fairing and the planking.

Blood, sweat, tears, wood glue


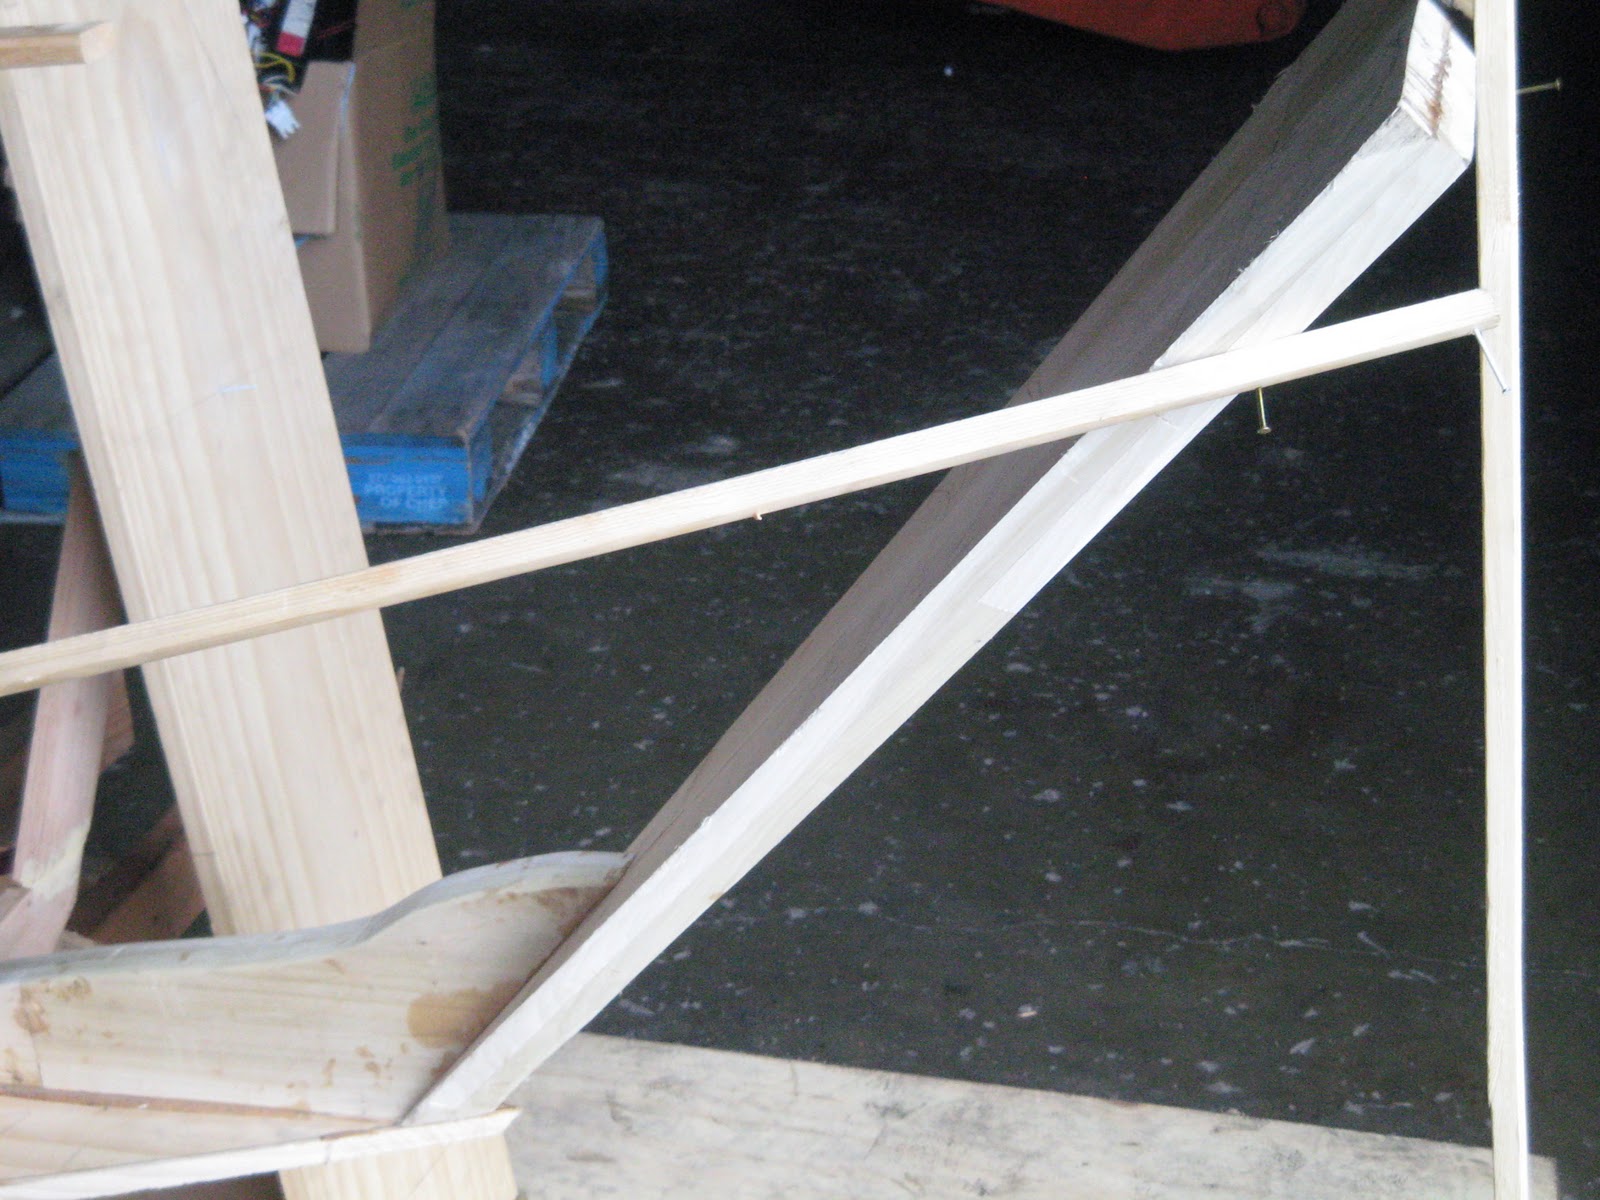
The transom, or tombstone, has been left unfinished at the top. I have left the excess on in many pieces so that I can always have it to make adjustments. I never read about this technique but I found it was very beneficial and allows me to customize my boat as I go along.

There she is, one last picture of the glory:


There she is her her raw and basic form. I know I have omitted the planking stories, but soon grasshopper, soon.

Like I said, extremely basic, but now she is technically a boat. Can she float? Well I don't know yet, I still have a little more finishing out before I water test, but I bet (hope) she will.

Thanks to all my friends who helped, your efforts will be rewarded with free boat rides!

Check out my friends at JPL Marine Labs and another great blog about tall ships Sailing Monster

Email me if you want to lend a hand or for questions in general!

Monday, November 29, 2010

Back from Florida, time to turn it on!

Just got off the plane from Tampa, had a great weekend with Kelly's family, and I am definitely 10 pounds heavier. What better way to work it off than shaping and planing my stem and transom?

These next few weeks are going to be really interesting. I am moments away from connecting my stem and transom, next step will be fairing and planking.

Fairing is the process by which the outside edge (edges) will be smoothed down to receive the planks. This means that when the plank is applied, all the surfaces that will make contact with the plank will be absolutely flush. Sounds easy, but this is what will make or break the quality of the boat.

In order to fair, I have to use a fairing batten. A fairing batten is a long strip of wood, in this case the exact thickness of the plank (that way I can get a good read on how the actual planks will respond). Where do I get one? Well, as soon as I get my planking stock in and plane it down (with machine, not by hand, are you crazy!?) I will use a strip of the excess. I have never faired anything before, so this should prove interesting. An old salt once said, "You can plane wood off but not back on." Basically, just go really slow and be extra cautious, and if I mess up? Just slather some glue or something on it, I dunno, I'll figure something out.

This weekend coming up is my other life at the Elissa and Dickens on the Strand all courtesy of the Galveston Historic Foundation, so I must admit that my attentions will be somewhere else. Oh and I have a few tests and papers due... sigh... I am so ready for a zombie apocalypse.

There I am in all my splendor last year


Tell ye friends, tell ye enemies, just please, tell somebody!

Fair winds, stong rum!

Brett

Sunday, November 21, 2010

Finally a post (and video) about the boat!

Happy Thanksgiving everyone! Here is the first video in a series of videos about to be published. Let me know how you like them, leave comments or email me~ Brett


Friday, October 15, 2010

Scuba Adventure, Dory Build, and School Woes...

It has been over a week since my last post, and I do apologize, busy, busy, busy!

Congrats to my fair lady, Kelly, she is now NAUI open water certified! We had a great weekend at Mammoth Lake finishing up our cert. Actually, is was a bit of a debacle...


When we surfaced after our first dive on Sunday, I looked over to Kelly and I saw the most unsettling vision ever. Her mask was just completely filled with blood and snot. The best part was that she didn't know yet. So did I try to see what was wrong and make her feel better? Did I suggest that she not dive our final dive in order to look out for her safety? No way. I told her "babe, I think your nose is bleeding a little bit," and quickly whisked her away so the instructor wouldn't see. I didn't want the instructor to see because then the last dive would get canceled and we would have to go back out to that dirty, muck-water pond and fork over another 40 dollar entrance fee. "No babe, your nose isn't bleeding that bad, you'll be fine (hand firmly gripping wallet)." I know it sounds callous, but wait until you see the underwater pictures of this place. I felt like I was scuba diving in a bowl of miso soup.
Kelly was tough though, she knew what was at stake and she soldiered on. Nose full of snot and blood, she completed the final dive-Victory! Well, not exactly, still waiting on the results of our written test, but we should find out soon. In the mean time, check out Island Divers, Tom is a real cool dude and can help with all your diving needs.

Isn't this a blog about a boat? Yes, but patience grasshopper.

So busy this week, I took a test in American History of Seapower... it was ridiculous. I wrote 11 pages I think. My main essay was 6 pages. That is too much, but interesting stuff. Check out this guy Alfred Thayer Mahan. Pretty visionary, maybe we should listen to him... Then I just had a test in Environmental Ethics and Logic. Talk about a swift kick in the pants, this has been the week from hell.

Onto the Boat!

I'm on my way out the door right now to start on cutting the sides of the timbers (like frames, but this is a unique boat.) Check out these pictures:


Here I am cutting out the timbers and the cleats.


This is an important process and can be very tedious. It is important to measure twice so that you can cut once. I understand this concept, but sometimes am reluctant to apply it. 

I made some smaller saw horses about 3 feet off the ground. I'm gonna use those as the boats main resting place. From here I will finally cut out that bottom shape, and then apply the 4" rocker to it. The rocker is a slight curve to the bottom. This was usually done by bracing boards to the ceiling and applying pressure downward, giving it a convex shape (concave depending how you look at it.) But the ceiling in this building is 30 feet tall so that's a no-go. Instead I will be using a complex system called cinder-blocks. I'm just gonna pile a bunch on to make it sag in the right spots.

Small sawhorses, or sawponies
I really need to cut out the bottom, but I'm kinda having analysis paralysis on what hardware to buy. I mean, everyone uses silicone bronze ring nails, but they are expensive! I find it hard to believe that with all the technology we have that those are the only option. What about deck screws? Those withstand the elements, so you would think, but I don't want to take a chance before I know.

Anyways, off to Home Depot and then to the shop.

Tell a friend, tell an enemy, tell anyone.


Thursday, October 7, 2010

The Dory Has Started!!!

It has begun...

I guess this is like the sonogram?
My beautiful little dory zygote. Can you see the resemblance?

This wonderful day marks birth of my 12' Banks Dory. But is the true beginning when I started reading and planning? (conception?) How many more birth of a child allusions can I make about this? I'll stop, I'm starting to get nauseous, if you want to see why, check out this blog post of mine.

I have started the bottom. It is just three simple 1''x12" planks (2-12' and 1-16') laid edge to edge and clamped together for sealing and for joining (via 1''x2" oak cleats). Take notice of the pictures; this is my workspace at A&M Galveston. You can see I have some sawhorses set up, I have a 4'x8' sheet of plywood as a workbench type arrangement (also has the sheer plan lofted on it for easy reference), and on the floor I have my clamp set-up. 

I really got a lot of work done today. The hardest part of any project is the beginning. It has so many factors, it's like cooking. You gotta get the recipe, chop everything up, call your mom to ask her what she does to make it taste so good, chop up all the vegetables, find the right pan, etc.. So many things to do at the beginning-makes you wanna order a pizza. But, you know if you put this effort into it, you are gonna get something out of it that is way better. Also, you won't get fat (man, I'm on a roll with metaphors today). My point is, the prep work sucks, and maybe even the main effort work is bad too, but when it's all said and done, I will be happy I did it.

I mentioned my clamp system, here it is...

3 boards edge-joined
Wedge clamp (Gardner Inspired)


Pretty straight forward idea.

Right now I just have the boards sitting there, I really need the oak to finish it, but just not in dimensions that I am happy about. I really need 1''x2'' of oak, but in this day and age it is really hard to find it. I mean, it does say on it 1''x2'' but it is actually 3/4''x1 1/2''. That is not bueno for me. I am sacrificing on bottom size (3/4'' instead of 1'') but I don't want to do that for the structural cleat. Actually, I'm not so worried as much about doing that for the cleats, but the frames I feel if they are reduced in thickness, it will make them weaker. 

Wanna see 60 dollars?

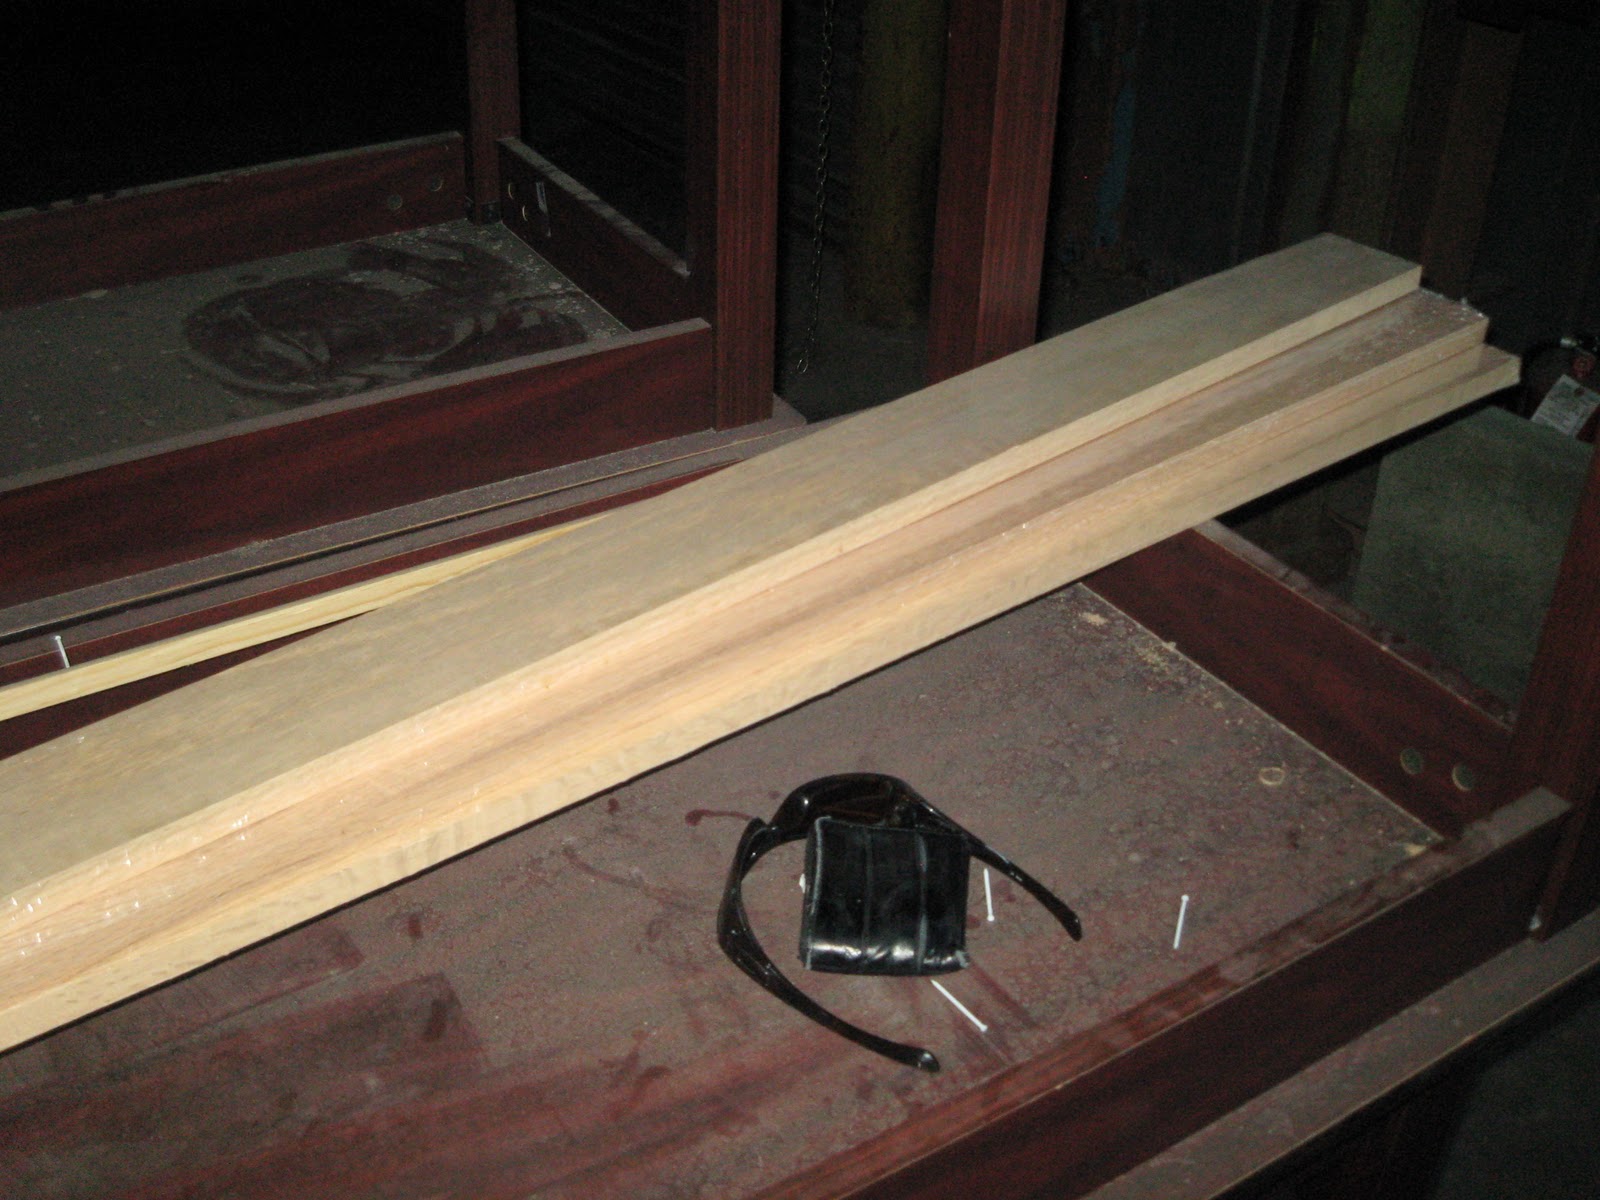
Notice my diminished wallet size, cowering behind my sunglasses


That's what 60 bucks looks like. Three 8' red oak 1''x2''s, not that impressive eh? Ya, I feel ya on that one. These little oak boards are so presumptuous. They are wrapped in shrink wrap, super expensive, but nowhere near the size I really want, oh, the arrogance.

Enough about that, on to cooler things.

I would like to thank Skip Leveille for referring me to Jimmy Tarantino who referred me to Geno Mandello, a Master Dory Builder. These men are all part of International Dories. They have a program up in Gloucester (dory Mecca) where they build, race, and row dories. It's a real cool, grass-roots type of thing, check it out because the website can explain it better than me. Anyways, Geno answered a few dory questions for me regarding fasteners and sealants- my thanks to him. It's nice when you can talk to these guys who eat, sleep, and breathe boats, especially when they can lend some wisdom.

Until next time, tell your family, tell your friends, tell everyone...

Questions? Email Me

Please click on ads, this stuff is getting expensive,

~Brett~

Monday, September 27, 2010

Are Dories Magical?

Short answer, yes.

Long answer, yes they are.

There is no question that a Dory is a magical boat. The sheer fact (I'm pretty sure the actual sheer of the Dory inspired that sheer) that the D in Dory is capitalized shows an almost 'human-like' existence. But why would a Dory want to be human-like when it's a Dory? It wouldn't.

I posted this picture a few weeks ago:

Pretty amazing right? This Banks Dory plowed through the water for a bit, then decided it would blast-off into space. It took these two humans along as rowing slaves. But, this must be an anomaly, right? Wrong. Please pay attention to Exhibit A:


...and Exhibit B:


After three conclusive photos, I'm sure that we can all reach the same judgement: Dories are way awesomer and other-wordly than we ever imagined.

So, this week I am in search of lumber. I need to get a shipment of white pine, preferably 1"x 12" in sections of 10' and 13' length. It's really hard to find it in these specific dimensions, but I do have access to a friend's (Matt) table planer, so anything a little bit bigger I can take down bit. 

So my first stop was Home Depot. I know, I know, there are some salt dogs out there right now spitting at the ground at the thought of me finding anything at Home Depot, but I'm poor and it's down the street and I'm ruled by the laws of supply and demand. As I was perusing the Depot, I came upon a section of really nice white pine, in fact, I was impressed. There were some great pieces in there but the problem was that all the edges had been gashed off due to some minimum-wage board slinger who didn't care. Can I blame him? No, but, I was still sad. I spent roughly an hour combing through hundreds of boards looking for what I needed, but when the edges would be fine, they would be home to a million knots. Now, knots aren't that big of a deal for the bottom, says John Gardner, but these knots were at the edges/almost falling out/gigantic. I decided to save my money and hold out for something better.

My next stop was Mason Mill in NW Houston. They had a ton of wood, warehouses and warehouses full of wood, every kind of wood-wood, wood, wood! There was so much in fact that I was getting very confused. They had a million types of pine and a million thicknesses, which would all be great, but they were all rough hewn. That means they would charge additional to plane it down and sand it and by the end it would be very pricey. Like I said, I have a planer and could do it myself, but I still wanted to hold out to check one more spot. Also, to make matters worse, every single worker there was ogling my girlfriend, so I could stay and fight them and their forklifts or flee back to the island. To the ISLAND!

Ideal Lumber in Galveston is my third place. I would have made it today but the traffic in Houston is so grotesque that it takes hours to go from A to B. I did talk to them on the phone and they seem to have a large stock. But with every new venture, a new problem arises. Most of their stock is finger jointed together. What does this mean? It means they are joined together in a zig zaggy way that may not be very good for ocean going vessels. I was trying to get nice long pieces, but I may have to settle for smaller ones and scarf (join) them together. So, I was wondering, would a finger joint be the same as a scarf? Would it be structural enough to be in a boat? I shall start going through the multitudes of online forums to see. Usually this ends up in 99% junk response but sometimes, it pays off. Most of the time some wooden boat know-it-all spends half a page talking about an answer that would take two sentences to accomplish the same thing. I think these kinds of people should have limited internet access.

This week is very busy. History test, spanish test, history quizzes, lectures, blah, blah, blah, blah. I should get some wood this week, and hopefully start the sub-assemblies towards the end.

Also, check out my friend's site. Seth and his wife Jen have a research company that takes marine biologists out on a sailboat to take samples or whatever the hell they do. Seth and I are pretty sure it involves bunson burners and lab coats, but we are boat people and that's what we focus on. Anyways, they have a very cool business model, and their mission is to provide a 'green' way to research the ocean, with little to no impact on the environment. Go check it out: JPL Marine Labs

If you like what you saw, hit me up, let's splice the main brace lindellbc@gmail.com

And please, do tell your friends....


Dory ho!

~Brett~

Thursday, September 16, 2010

Lofty Lofting

What a week. School is really starting to kick in, even more reason I need a boat, and soon!

Towards the end of this week I hope to begin the lofting (still trying to decide which type of plywood I want to sell my unborn firstborn male child for.) Traditionally, lofting was done directly on the floor of a boat shop, unless of course they wanted to save the pattern so that they could recreate this boat again and again. In this case it would would be done on some plywood type material. This way I can reuse it again for building another dory or maybe just for hanging on my wall (or I can use it to make a nautical themed beer pong table (or I can just stop messing around with ping pong balls and drink the beer directly)). Whatever the case may be, I am going to loft on the plywood.

Now, a Banks Dory has been built so many times that some people I talk to say I shouldn't even bother lofting it. There have been a million books so why waste my time? I am choosing to loft because I am going to use the finished product and "pick-up" my lines directly from it. Picking up lines refers to using your lofted boat plan almost as a template to guide you in cutting out your pieces. I am also choosing to loft because the great John Gardener told me so in his dory bible "The Dory Book," and I dare not incur the wrath of John Gardener. John Gardener is to Dories is what Bobby Fischer is to chess. You just don't second guess the guy.

So, I'll begin by purchasing two 4'x 8' pieces of plywood and some 2"x 4"s as support. I would like to bolt the plywood to the 2"x 4"s that way I can assemble and disassemble and move them around easier. We'll see how my attention span is when it comes time for that though, I bet I'll just nail that sucker (and then probably wish I bolted it later, ha!)

I originally intended to put a cool picture I saw the other day of some salty dudes lofting a boat probably in the late 1800's. However, I could not find the picture so I chose to tell you this miserable story instead. These days everybody gets a lot of grief for how easy we have it compared to the past. Like in my case, I will be building this boat with power tools, so I guess I can't really say it is being built traditionally. I mean I guess the old-timers had it a lot harder right? You know what, they may have not had power tools but they also didn't have things like youtube, facebook, wikipedia, or google to ruin their lives and sidetrack them for like three hours. I innocently decided to go search for that picture, and not only did I not find it, but I looked at ebay, craiglist, and wooden boat forum. See all those blue hyperlinks? It's like walking through a mine field, except instead of being blown up by a mine, you get derailed and end up spending an hour looking at the freaks that crawl around Wal-Mart (People of Wal-Mart, click it, I dare you.) Did you click it? Did you spend at least twenty minutes feeling nauseous? Anyways, I digress, on with the boat!

Once, I lay out the plywood and check to make sure both the pieces are not distorted or affected in any way, I can start the process. Firstly, make a baseline.
 ***Disclaimer*** All line's plans and offset tables are different. Some are drawn with a baseline, some use a waterline as the point of reference, some elevate the true bottom above the baseline, yada, yada, yada. (but, you yada yadad over the best part! No, I mentioned the bisque... (10 points to who can name where that comes from!))***Disclaimer***
So it is up to you to read your plans carefully. Some find it helpful to do a 'mini-lofting' on a piece of graph paper (that's what I did.) It allows you to work out all the kinks on a piece of paper instead of on your expensive plywood. Then, if you want to go even further, you can build a balsa wood model to check your accuracy even further.

Here is a picture of my 'mini' lofting and the start of my model:
You can see the profile view (side), and the half-breadth view(expanded to full-breadth). The start of the model is sitting directly on the full-breadth view showing that the plan directly corresponds with the model.

The way I started this was with my table of offsets. Here is the exact plan I am using:


This one page contains the entire plan for the boat. It's like the Rosetta Stone, in order to understand the hieroglyphics, you gotta know your Greek. Well in this case, numbers are your Greek and everything else is that jumbled mess of hieroglyphs. Notice in the bottom right hand corner. There is your offset table. As long as you know your numbers, you can plot the lines. The offsets are a certain distance from a certain reference point which will give you a certain location of a point in the boat. I could delve very deeply into this, but it's about 1:30 a.m. where I'm at and I just got done doing a bunch of homework. Alas, I promise I will, at another time, cover every aspect, that's a good reason for you to keep coming back!

So exciting, exciting! Sometimes the planning part can be very tedious. That's how it was when I was in the Marines. Planning just downright made you want to pull your hair out. But, the success of a mission relies on the planning, so it is a necessary evil. And, it's not all that bad, you get a lot of daydreaming in.

When you start to get stressed out, you just gotta find something to motivate you. This dory picture should keep me motivated for quite some time:
Take that wave!
I could honestly write a million captions for that picture. I don't think they are rowing, it appears they are blasting off into space.

Fair winds, strong rum, sharp knives,

Brett

Sunday, September 12, 2010

The Dory Plan

Ok, so, I've been around boats for quite some time now. I have rigged boats, scrubbed 'em, cleaned 'em, painted, tarred, caulked, steered, unstucked (real word?), etc. etc etc. But there is one important thing I have yet to do to one, and that is

...to build one.

Notice the drama.

To even think about buying a boat is terrifying. I constantly hear that the two best days of a boat owners life is the day he buys it and the day he sells it. So negative, but so true it seems. Boats are a money pit. If you like boating but are landlocked, a great way to experience being a boat owner is to go stand in a cold shower with your raincoat on while you tear up hundred dollar bills. So there you have it, that is how the world has made me feel thus far...

It's not all horrible though. Here on Galveston Island I am surrounded by boats and am a crew member aboard the Elissa, the 1877 sailing barque. Now there's an expensive lady. I don't get to look at the books or anything but I know personally that the dollar amount of varnish I alone have applied to her yards and rails would resemble the GDP for several 3rd world countries. She does bring you back every week though, despite her nagging and high maintenance. That's what a pretty girl is capable of...
They always look good all dressed up


However, I digress, this is about MY boat. That's right, I decided to build my own. Not quite the size of the Elissa, but just as historical. Based on meetings with salty sailors, weather-beaten friends, and well-tattered books, I have chosen a wonderful working-class small boat--The Banks Dory.

The Banks Dory is famous way beyond the space I can spare for its history. It is thought to be derived from the French Bateau, a flat-bottomed, straight-sided river boat from the late 17th century. Yet, since boats were mainly made by the keen eye of a shipwright in those days as opposed to using an offset table or templates, it is very hard to trace its lineage. However, the Banks Dory doesn't need mention of an elaborate past; its fame was gained closer to home in the Grand Banks off of New England. In the late 19th century and the earlier 20th century, large schooners would depart Massachusetts up to the Grand Banks off of Newfoundland. The schooner would be carrying 20 to 30 Banks Dories. There thwarts were removed (seats and stuff) and they were stacked in each other like a bunch of dixie cups. Once there they would anchor and deploy the boats with a pair of fisherman in each. Then, the men would row or sail away from the mother ship and hand-line cod or halibut. The Banks Dory was known for her sturdiness and ability to carry literally tons of cargo. If a sudden squall would come on, it was up to these men to make it back to the ship, and hundreds, if not thousands, of men were lost over the years to events such as that. These dudes were no joke. You wanna hear about a real BAMF? Check out Howard Blackburn. Word of Warning though, standby to feel really inadequate.
Howard Blackburn be his name...
The Fog Warming, Banks Dory in good weather...


Anyways, like I said, I cannot devote nearly enough to explain this boat's greatness.

So on with maneuvers and let us press forward with the battle plan...

The first rule about boat building is that you do not talk about boat building. Just kidding, that's fight club. The first thing you have to do is start reading. Then talking. Then reading and talking. Then ask questions. Then, take all of this abundance of information (sometimes conflicting) and come up with your plan. That's what I did. I have to say though, the majority of my build plan is based off of one book. It's called The Dory Book by John Gardener. This dude is one crafty man. He is incredibly thorough and spares no details. When you first look at some of his line's plans (more on this later) it feels like you are staring at the Matrix. Then when you realize you are the one, you understand it (you mean when I'm ready I can stop bullets? No, when you're ready, you won't have to... ).
I have many leather-bound books...
I can't take credit for finding this book, that goes to one of the saltiest dudes I know. His name is Chester and he is a deckhand for the Seagull which is a tourist boat for the Texas Seaport Museum. He has built a few dories himself and he has stories that go on for days.

The planning is the most important part. I have built and rebuilt this thing in my head numerous times. Right now I am creating a balsa wood model. It's not that pretty, but it's a great way to really go through the building processes. This can help you gauge 'big picture' problems such as "Do I need to build the transom first or the garboard strake?" That was just an example but it all helps, that way when H-hour hits, you are ready.

Right now I'm in the process of securing a good build space, but stay in tune for the next phase which is very important, lofting.

Fair winds, strong rum,

Brett